So Hi guys I was asked by a guy to show the Bookeh effect on Photoshop so here it is. But first of all I recommend that all use Photoshop CS 4, 5, or 6, because working on it seeing the images would be easier as I have Photoshop Cs 6.


Step 1:
Open Photoshop and create a new Photoshop Document (Ctrl +N, Mac- Command+N). As I am going to create it for my background, I'll choose the resolution to be 1600 x 1200. You can choose whatever you want. Fill the screen with Dark grey, but not black. Using black would not give the effect. I have used #2c2c2c. Now let's have a cool gradient on it. I have used the layer style method. I have set the Blend Mode to Overlay, Linear Style and Angle is 51 degrees. The colors I used are: A yellow (#eef10d) at 0%, A cyan (#09def1) at 32%, a purple (#9b3b81) at 63% and an orange (#da7012) at 100%. But feel free to play with the differences of life. (Pro tip: Try using not too much variety and choose bright colors.)


Step 2:
Hide the Layer, and select the Ellipse Tool (U). Use black color and create one. Remember to hold the shift key and then make one, to get a perfect circle. You can try other shapes such as a hexagon also. Set the Fill Opacity in the Layers panel to 50%. Add the stroke layer style, and use 7-15px for the size (10 recommended), Position Inside, Color black and leave Mode to Normal and opacity to 100%.

Step 3:
While the ellipse or the shape selected, go to edit>Define Brush Preset/ Define Brush. Name it anything and lol step over already.
Step 4:
Go to window> Brushes (F5). Select the Brush we just made. Set the spacing to 100% or bit more. Don't worry about the size right now. After that select Shape Dynamics, Scattering and Other Dynamics (CS4 or below)/ Transfer (CS5 or CS6). See the values from the image below.

Now before we start painting, create a new folder (click the icon on the left to new layer icon). Set the blend mode of this folder to Color dodge or Screen. I have chosen Color Dodge because screen hides every trace of black, although there's not much difference. Now, create a new layer, pickup the brush tool (B), set its size to 500 - 600 px (right click anywhere on the image and a panel will appear), and start messing up- Lightly and Gently. Be sure not to have many ellipses which make it dirty and be sure to click gently so that there is proper distribution.Step 5:

Step 6:
Do the Gaussian Blur (Filter> Blur> Gaussian Blur) on this layer. Use 18-23 px for the radius. I am using 20px.

Step 7:
Make a new layer and do the same thing. But this time take 300- 400 px for the brush size. I am taking 350 px. Then again do the Gaussian Blur Filter we did in the previous step. This time use 3- 5 px for the blur radius. I am taking 4 px.


Step 8:
Repeat step 7 but this time take 100- 200 px for the brush size and 1 px for the blur radius. I have used 150 px for the brush size.


Final Glitch (Not mandatory):
For the Final Glitch create a new layer in the folder, take a Normal brush with 50 px size and
0% hardness, and start painting dots everywhere. This will give a new effect, which... um... I cannot kinda' describe.
0% hardness, and start painting dots everywhere. This will give a new effect, which... um... I cannot kinda' describe.

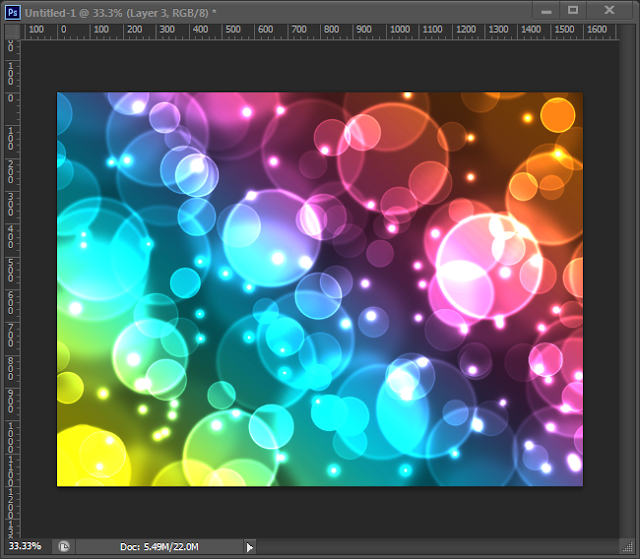
Conclusion:
Add your logo, name or pic or anything you wanna do to it and it's done; A nice wallpaper. This tutorial was again made on the responses of one of my friends. So if you're creating this, always try new shapes and blur depths, and play with the differences of life. For example, I just made one with Pentagon shape too, but that doesn't look *that cool 'coz I made it in a hurry: Don't do this effect in a hurry or everything's messed up.


Thanx!
No comments:
Post a Comment
And here go your views.